Thanks to Door to Door Organics for partnering with me on this recipe collaboration. I used their awesome food delivery service to gather ingredients for the recipe in this post.
I love pumpkin pie.
I’ve tried many different varieties over the years that fall into the categories of being either store bought, from a restaurant, or homemade.
And, you know, homemade wins every time.
Yes, there are some restaurant pies that are pretty awesome, but still, nothing beats homemade when you have a fantastic recipe! 🙂
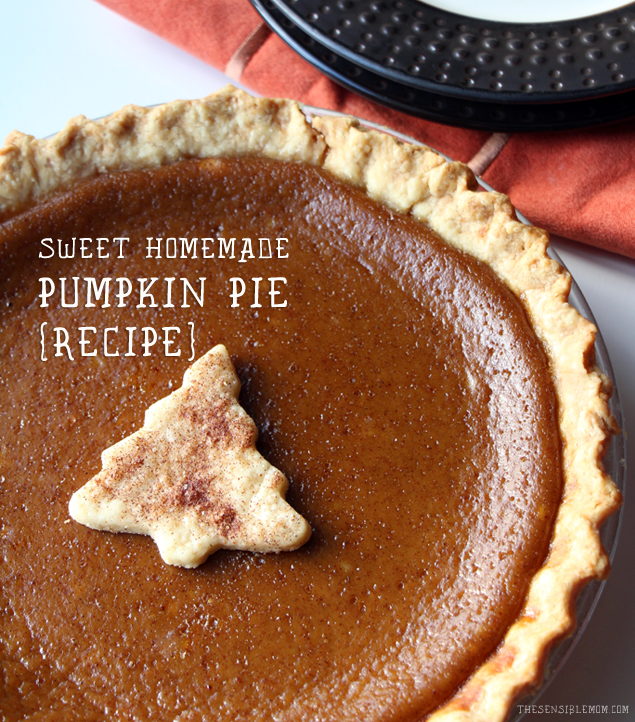
Pumpkin Pie Recipe
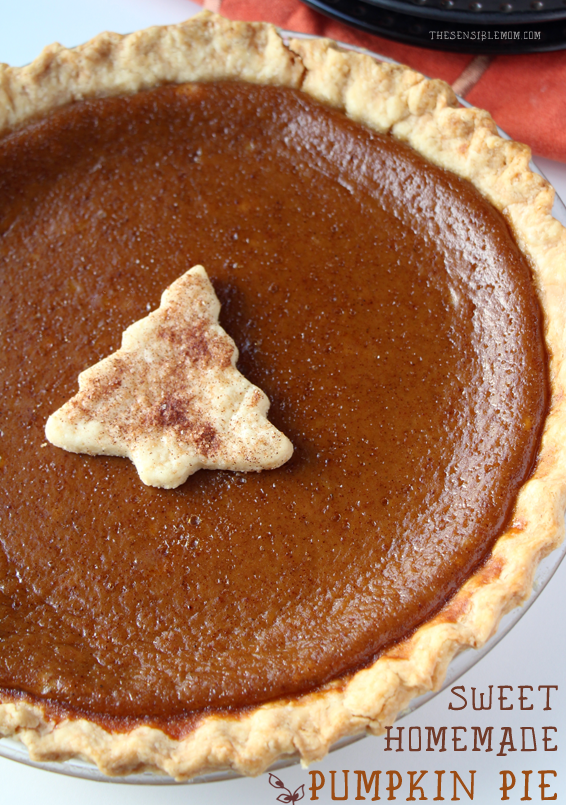
Today, I’m sharing my tried and true recipe for pumpkin pie. I love it because it creates a sweet pumpkin pie with a perfectly baked crust. Yum, yum, and yum!
Here’s the Printable Recipe:
Ingredients
- 1-1/4 cups rice milk
- 4 large eggs, lightly beaten
- 1 teaspoon vanilla extract
- 1 15 oz. can pumpkin puree (or two cups of fresh pumpkin puree)
- 3/4 cup granulated sugar
- 1/4 cup dark brown sugar
- 3/4 teaspoon ground ginger
- 1 teaspoon nutmeg
- 2 teaspoons cinnamon
- 1/4 teaspoon ground cloves
- 1/2 teaspoon salt
- 1 single pie crust
Instructions
- Adjust an oven rack to the lowest position and place a baking sheet on the rack. Heat the oven to 400 degrees. (I like using a baking sheet that's only rimmed on two sides. This makes it easier to place the pie on the hot baking sheet when the times comes.)
- In a medium bowl, whisk together the rice milk, eggs, and vanilla extract. Set aside.
- In a large saucepan, mix together the pumpkin puree, sugar, brown sugar, ginger, nutmeg, cinnamon, cloves, and salt. Then cook the mixture over medium heat for 4 to 5 minutes just until it's heated through. Stir frequently.
- Remove the saucepan from the heat and slowly whisk in the milk mixture until ingredients are totally incorporated.
- Place the pie crust into the bottom of the pie pan. Then pour the pumpkin mixture into the prepared pie crust.
- Carefully place the pie on the hot baking sheet in the oven and bake at 400 degrees for 10 minutes.
- Once 10 minutes have passed, rotate the baking sheet, and turn the temperature down to 300 degrees. Bake another 60 to 85 minutes until the pie looks mostly firm, but the center of the pie is still not quite set. The pie will finish firming up and setting as it cools.
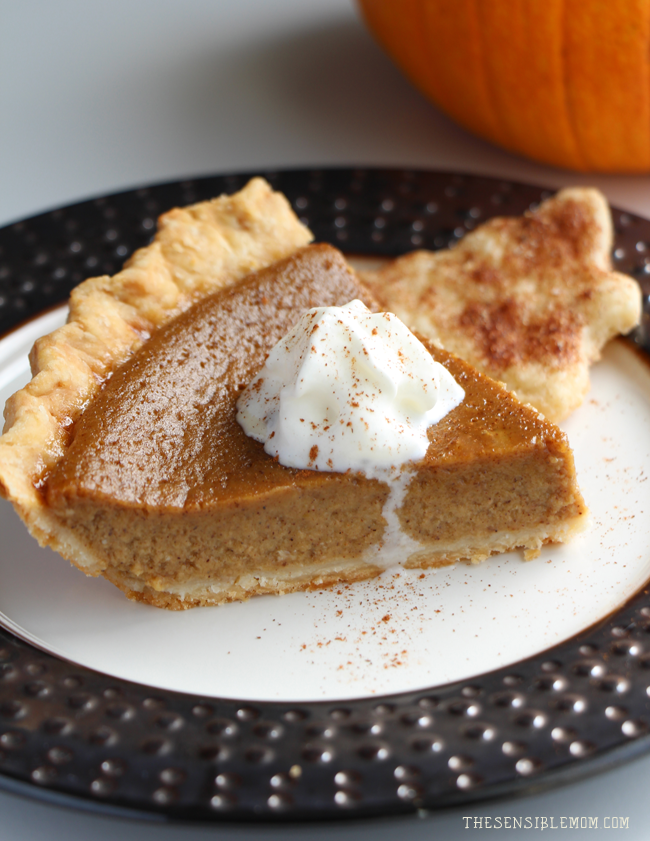
- Remove the pie from the oven and allow it to cool for approximately two hours before serving. This pumpkin pie is fantastic on its own or topped off with your favorite whipped cream and a sprinkle of cinnamon. *Pie dough cutouts are a great way to decorate your pie. See the recipe below for pie dough cutouts and ideas.
More About Pumpkin Pie
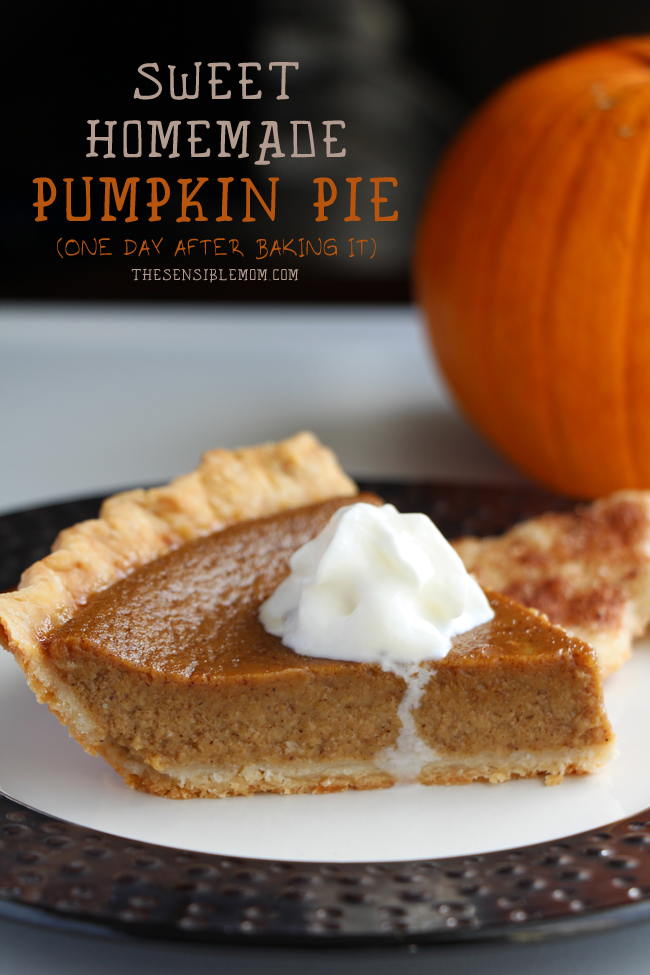
Below is what my pie looked like the same day I made it and after it had cooled. I used homemade pumpkin puree for the pie pictured, but canned pumpkin puree works great, too.
Helpful Tip: If you make this pie using canned pumpkin puree, then your pie will likely be finished baking around 60 minutes after you turn the temperature down to 300 degrees.
On the flip side, if you make this pie using homemade pumpkin puree, then your pie will likely be ready to take out of the oven around 85 minutes after you turn the oven down to 300 degrees. This has been my experience, anyway. 🙂
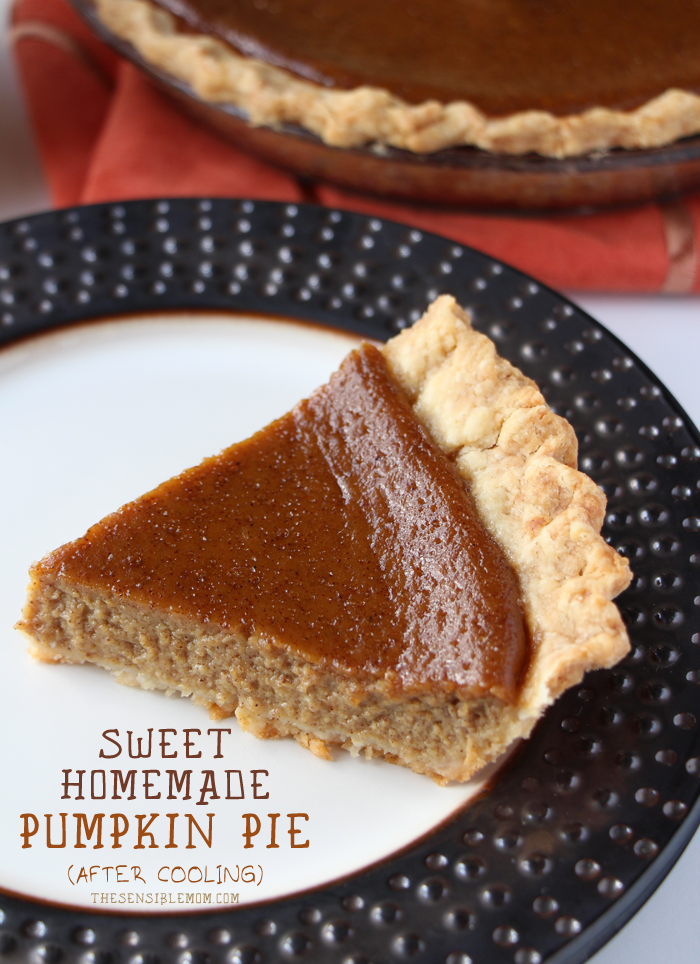
This pie happens to be a great make-ahead dessert. Which means that if you’re making pumpkin pie for Thanksgiving or some other occasion, you can make it the day before, and it’ll be ready when you need it!
Here’s what my pumpkin pie looked like the day after I baked it:
Onto the Crust
Okay, pie crusts… they matter. A lot. So, if you don’t have a good recipe for a pie crust, I absolutely love the recipe I shared here. I use it every single time I make apple, pumpkin, or any sort of berry pie. It’s an awesome recipe. Trust me.
Do note, though, that that particular recipe is for a double pie crust. I recommend either freezing one-half for later use or using the other half to make a bunch of pie dough cutouts.
You’ll soon see that I chose to do the latter. 😉
Helpful Tip: By baking the pie at a lower temperature of 300 degrees, you avoid burning the crust. The crust comes out beautiful, and the pie is creamy, sweet, and delicious!
Recipe for Pie Dough Cutouts
Before I jump into the recipe, I’ll start by saying that if you only want one or two simple cutouts to decorate your pumpkin pie with, then you don’t need a double pie crust. Duh, right?
You can simply use the excess dough from a single pie crust and with a cookie cutter or pie crust cutter, make whatever shape you’d like. Then brush the cutout with a little milk, sprinkle with cinnamon and sugar, and bake for about 8 to 10 minutes in a 350 degree oven. Allow the cutout(s) to cool, and then carefully place atop the finished pumpkin pie.
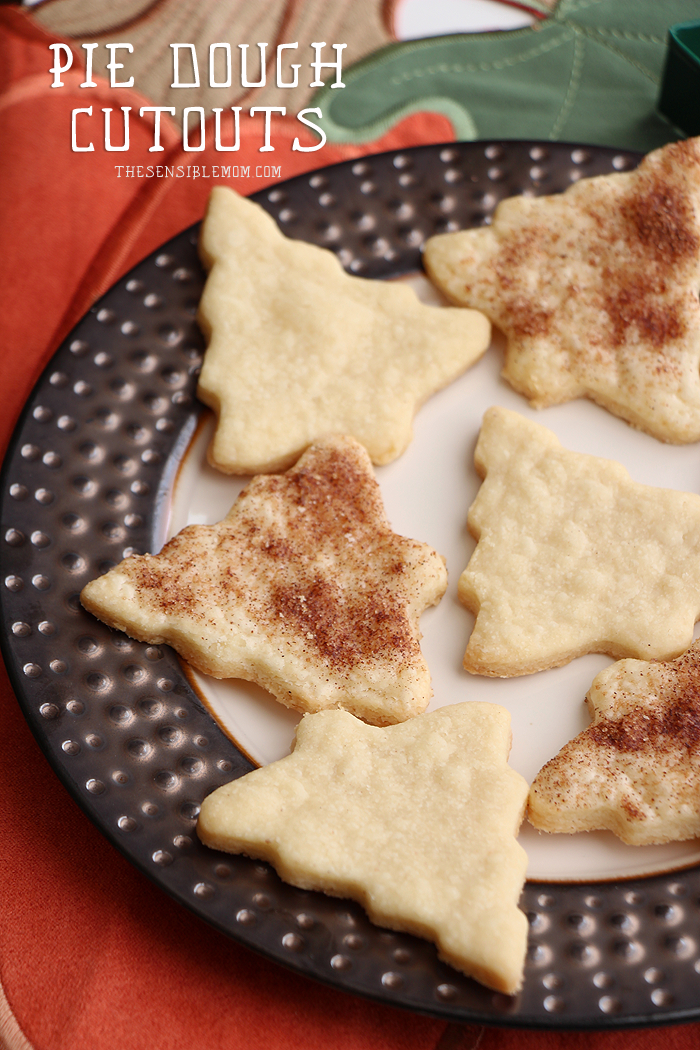
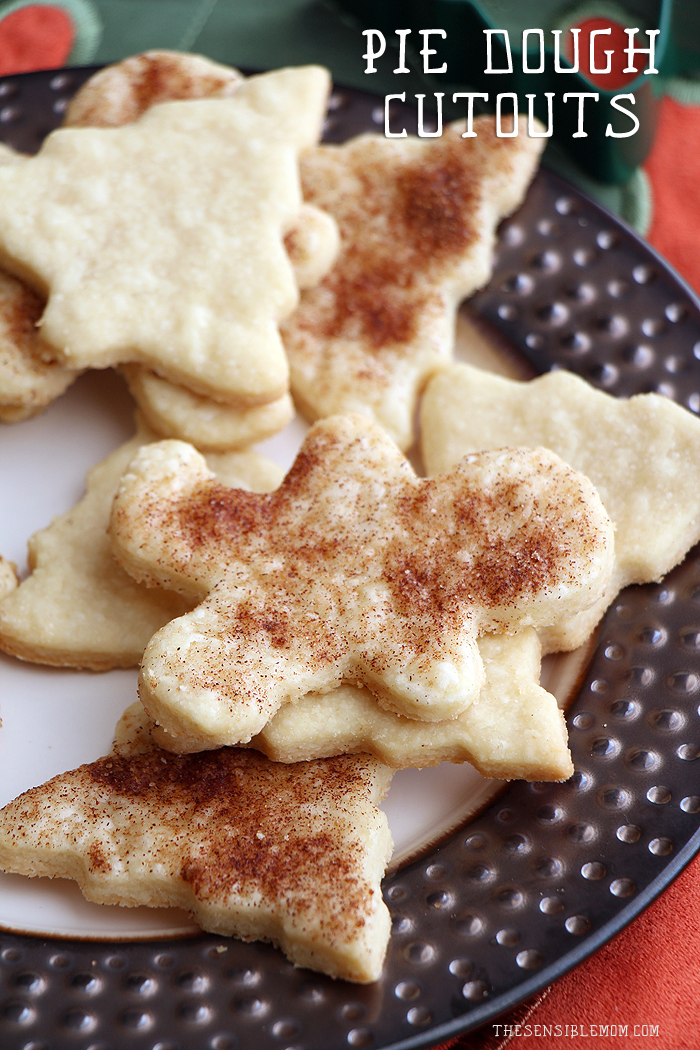
Now for those of us that want to get a touch more complicated, I’m sharing a recipe below for how to make a bunch of pie dough cutouts that could be used to decorate your pumpkin pie, or served alongside a slice of pie, or atop a single serving of pie.
Oh, the possibilities! 🙂
Here’s the Printable Recipe:
Ingredients
- 1 single pie crust
- 1/4 teaspoon cinnamon
- 1 teaspoon sugar
- 1 tablespoon rice milk
Instructions
- Move oven rack to the middle position and preheat oven to 350 degrees.
- Stir the cinnamon and sugar together in a small bowl. Set aside.
- Roll out the pie crust on a floured surface, then using pie crust cutters or cookie cutters, proceed to cut out shapes. *Tip: Dip the pie crust cutters or cookie cutters in flour before using them to cut out shapes. This helps to prevent sticking.
- Place shapes on a baking sheet, and brush the tops with rice milk. Then sprinkle with cinnamon sugar.
- Place the baking sheet in the oven and cook for about 8 to 10 minutes or until the pie cutouts appear light golden brown.
- Once cutouts are finished baking, remove the baking sheet from the oven, and place the cutouts on a wire rack to cool. Use to decorate pumpkin pie.
Helpful Tip: If you’d like to keep the cutouts really simple, skip the cinnamon sugar and rice milk, and bake the cutouts plain at 350 degrees for about 8 minutes.
I’d love to know, what are some of your favorite ways to use pumpkin in recipes?

I have a few pie pumpkins waiting to be baked. I will be making a pumpkin pie for Thanksgiving. I usually make a vegan pumpkin pie or a pumpkin chiffon pie. But this year I might make a vegan pumpkin cheesecake. I agree that homemade is best. Your pie looks yummy! I pinned it.
Thank you, Shelly! A vegan pumpkin cheesecake sounds delicious! 🙂
Would you kindly share your vegan pumpkin pie recipe. I’m taking pies to my daughters and her husband is vegan, would love to surprise him with your recipe. Thank you
Pumpkin pie is one of my favourite fall recipes. Can’t wait to give this one a whirl!
Mine too, Genevieve! 🙂
Thank you so much for this recipe! Pumpkin pie has been the highlight of the season for me since I was little, but my daughter was born with a milk allergy that she still has not outgrown at 7 years old. I don’t feel right eating something without a similar version for her, she gets that enough everywhere else. Until this year I have either gone without my pie, made a dairy-free version for her that wasn’t very good, or made a dairy-free version that wasn’t very good AND bought a store-bough frozen pie for me and gained a zillion pounds from ultimately eating both because my daughter understandably didn’t like hers, and I can’t stand budgeting for something then throwing it away (and my husband and son don’t like pumpkin …. I know, I know. Something has to be wrong with them). Anyway, this recipe is absolutely incredible. It tastes IDENTICAL to the store-bought (Mrs. Smith’s was my guilty indulgence before). No other dairy free pumpkin pie recipe has even come close to it, but yours nailed it. I’ve found that every other dairy free pumpkin pie recipe came out with an odd, almost grainy texture. Or it was too runny. Yours was perfection. I baked it in a Wholly Wholesome Traditional Organic Pie shell (also dairy free). You’ll have maybe 1 cup of filling left over when you pour it in, but next time I make it I’ll anticipate that and will have a mini pie crust ready for the extra. I made it at 9:00 AM yesterday, put it in the fridge after it cooled 2 hours, and then tried it this morning. I cannot stress how exciting it is to finally FINALLY have a dairy-free recipe that tastes as good, if not better(!), than the milk-laden store bought frozen pies. You have solved a problem that has been in our home at every holiday for 7 years. I cannot thank you enough!!
Hi, Laura! Thank you so much for this fantastic comment! 🙂 I’m glad this pumpkin pie recipe worked for your family! We absolutely love it, too, and I’m looking forward to making it later today. I love using rice milk in recipes instead of cow’s milk, and I find that it works well in just about any recipe that calls for regular milk.
I hope you and your family have a very Happy Thanksgiving!